MCP
以下介绍在 ShipAny 项目中使用 MCP 服务器的主要场景。
挂载文档
在基于 ShipAny 开发项目时,经常需要查询 ShipAny 开发文档,引导 Coding Agent 快速实现相应的功能。
ShipAny Two 的在线文档地址是:https://shipany.ai/zh/docs
在开发项目时,你可以打开文档中某部分内容,把链接贴给 Coding Agent,让 Coding Agent 快速了解相关知识,辅助你完成开发任务。
ShipAny Two 的文档在 Github 开源,仓库地址是:https://github.com/shipanyai/shipany-two-docs
你也可以把整个文档项目拉到本地,在开发项目时,提示 Coding Agent 扫描文档项目,辅助你完成开发任务。
git clone [email protected]:shipanyai/shipany-two-docs.git另外,你也可以使用 MCP 服务器挂载 ShipAny 开发文档。推荐使用 Ref MCP 和 Context7 MCP。
Ref MCP
进入 Ref API Keys 页面,生成你的 API Key。
在 Ref Install 页面,选择一种方式,在你使用的 AI 应用中安装 Ref MCP。
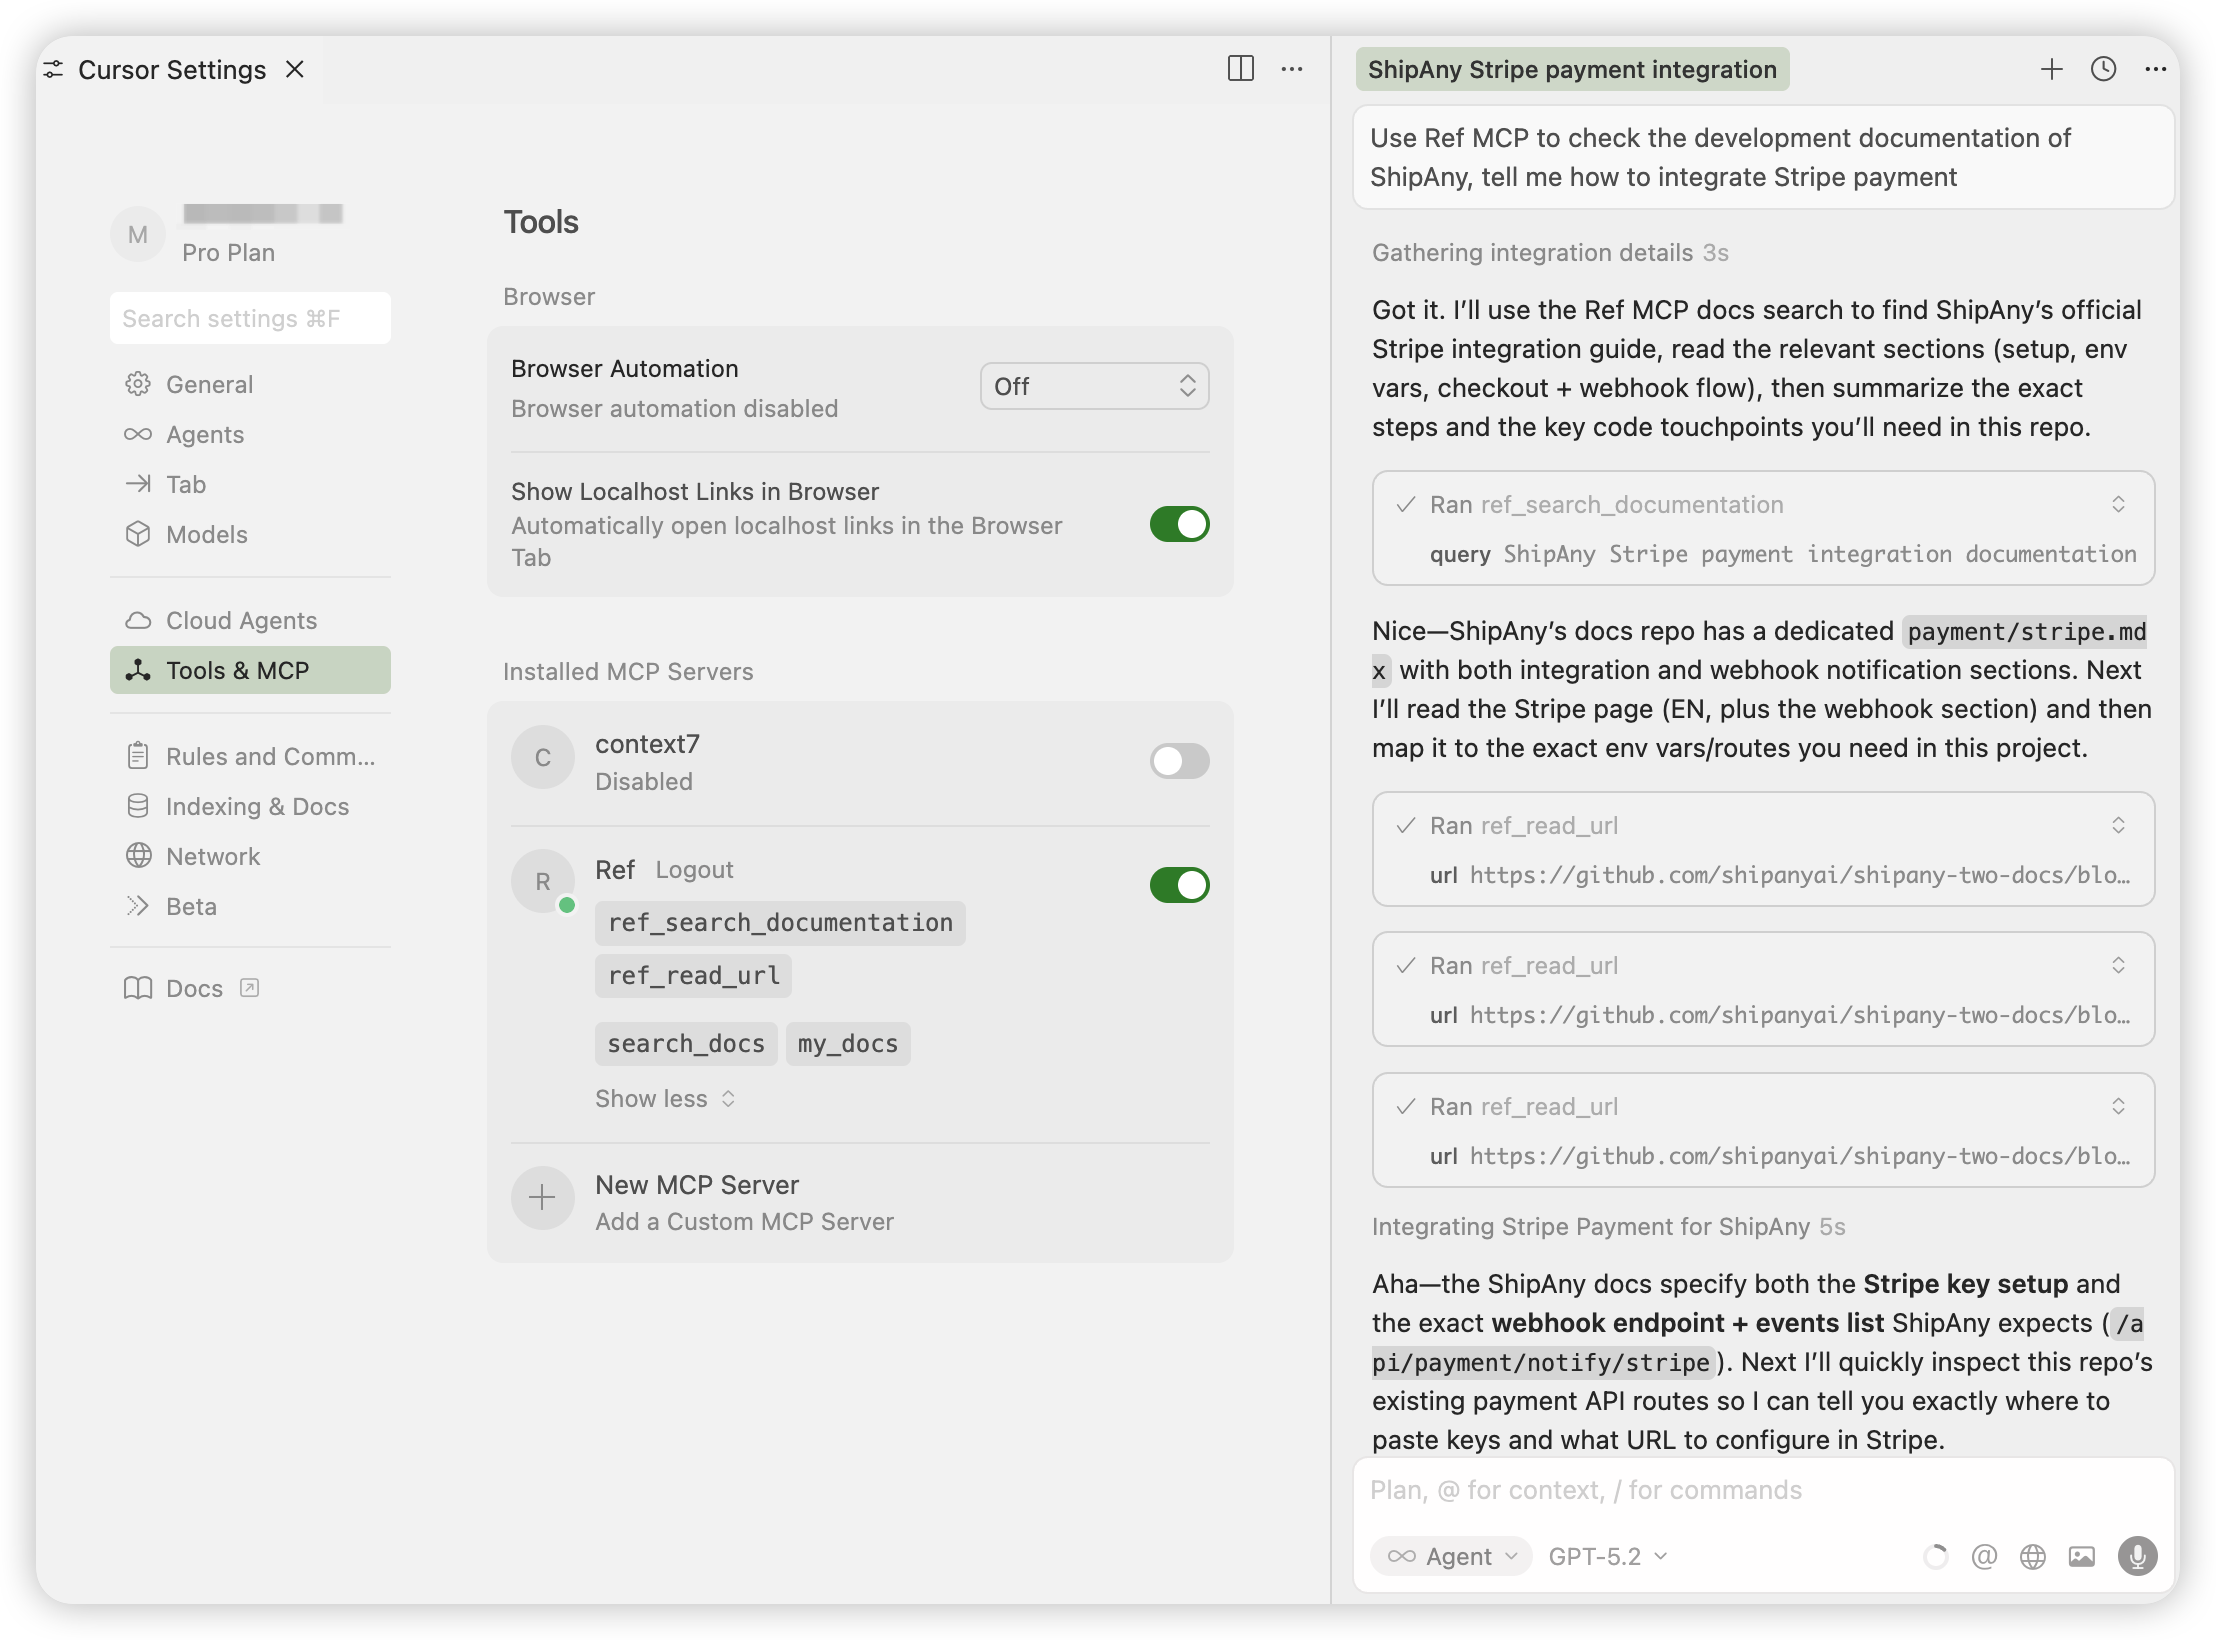
比如在 Cursor 安装 Ref MCP 后,实际填入的 MCP 服务器配置是:
{
  "mcpServers": {
    "Ref": {
      "type": "http",
      "url": "https://api.ref.tools/mcp?apiKey=ref-xxxxxxx",
      "headers": {}
    }
  }
}在开发项目时,提示 Coding Agent 使用 Ref MCP,快速了解相应的知识。
参考提示词:
Use Ref MCP to check the development documentation of ShipAny,
tell me how to integrate Stripe payment
可以看到,Coding Agent 通过 Ref MCP 的 ref_search_documentation 工具,查询到了相关的文档链接,
然后多次调用 ref_read_url 工具,读取了相关的文档内容,最终给出了答案。
Context7 MCP
进入 Context7 Dashboard 页面,点击 Create API Key 按钮,生成你的 API Key。
在 Connect 面板,选择一种方式,在你的 AI 应用中安装 Context7 MCP。
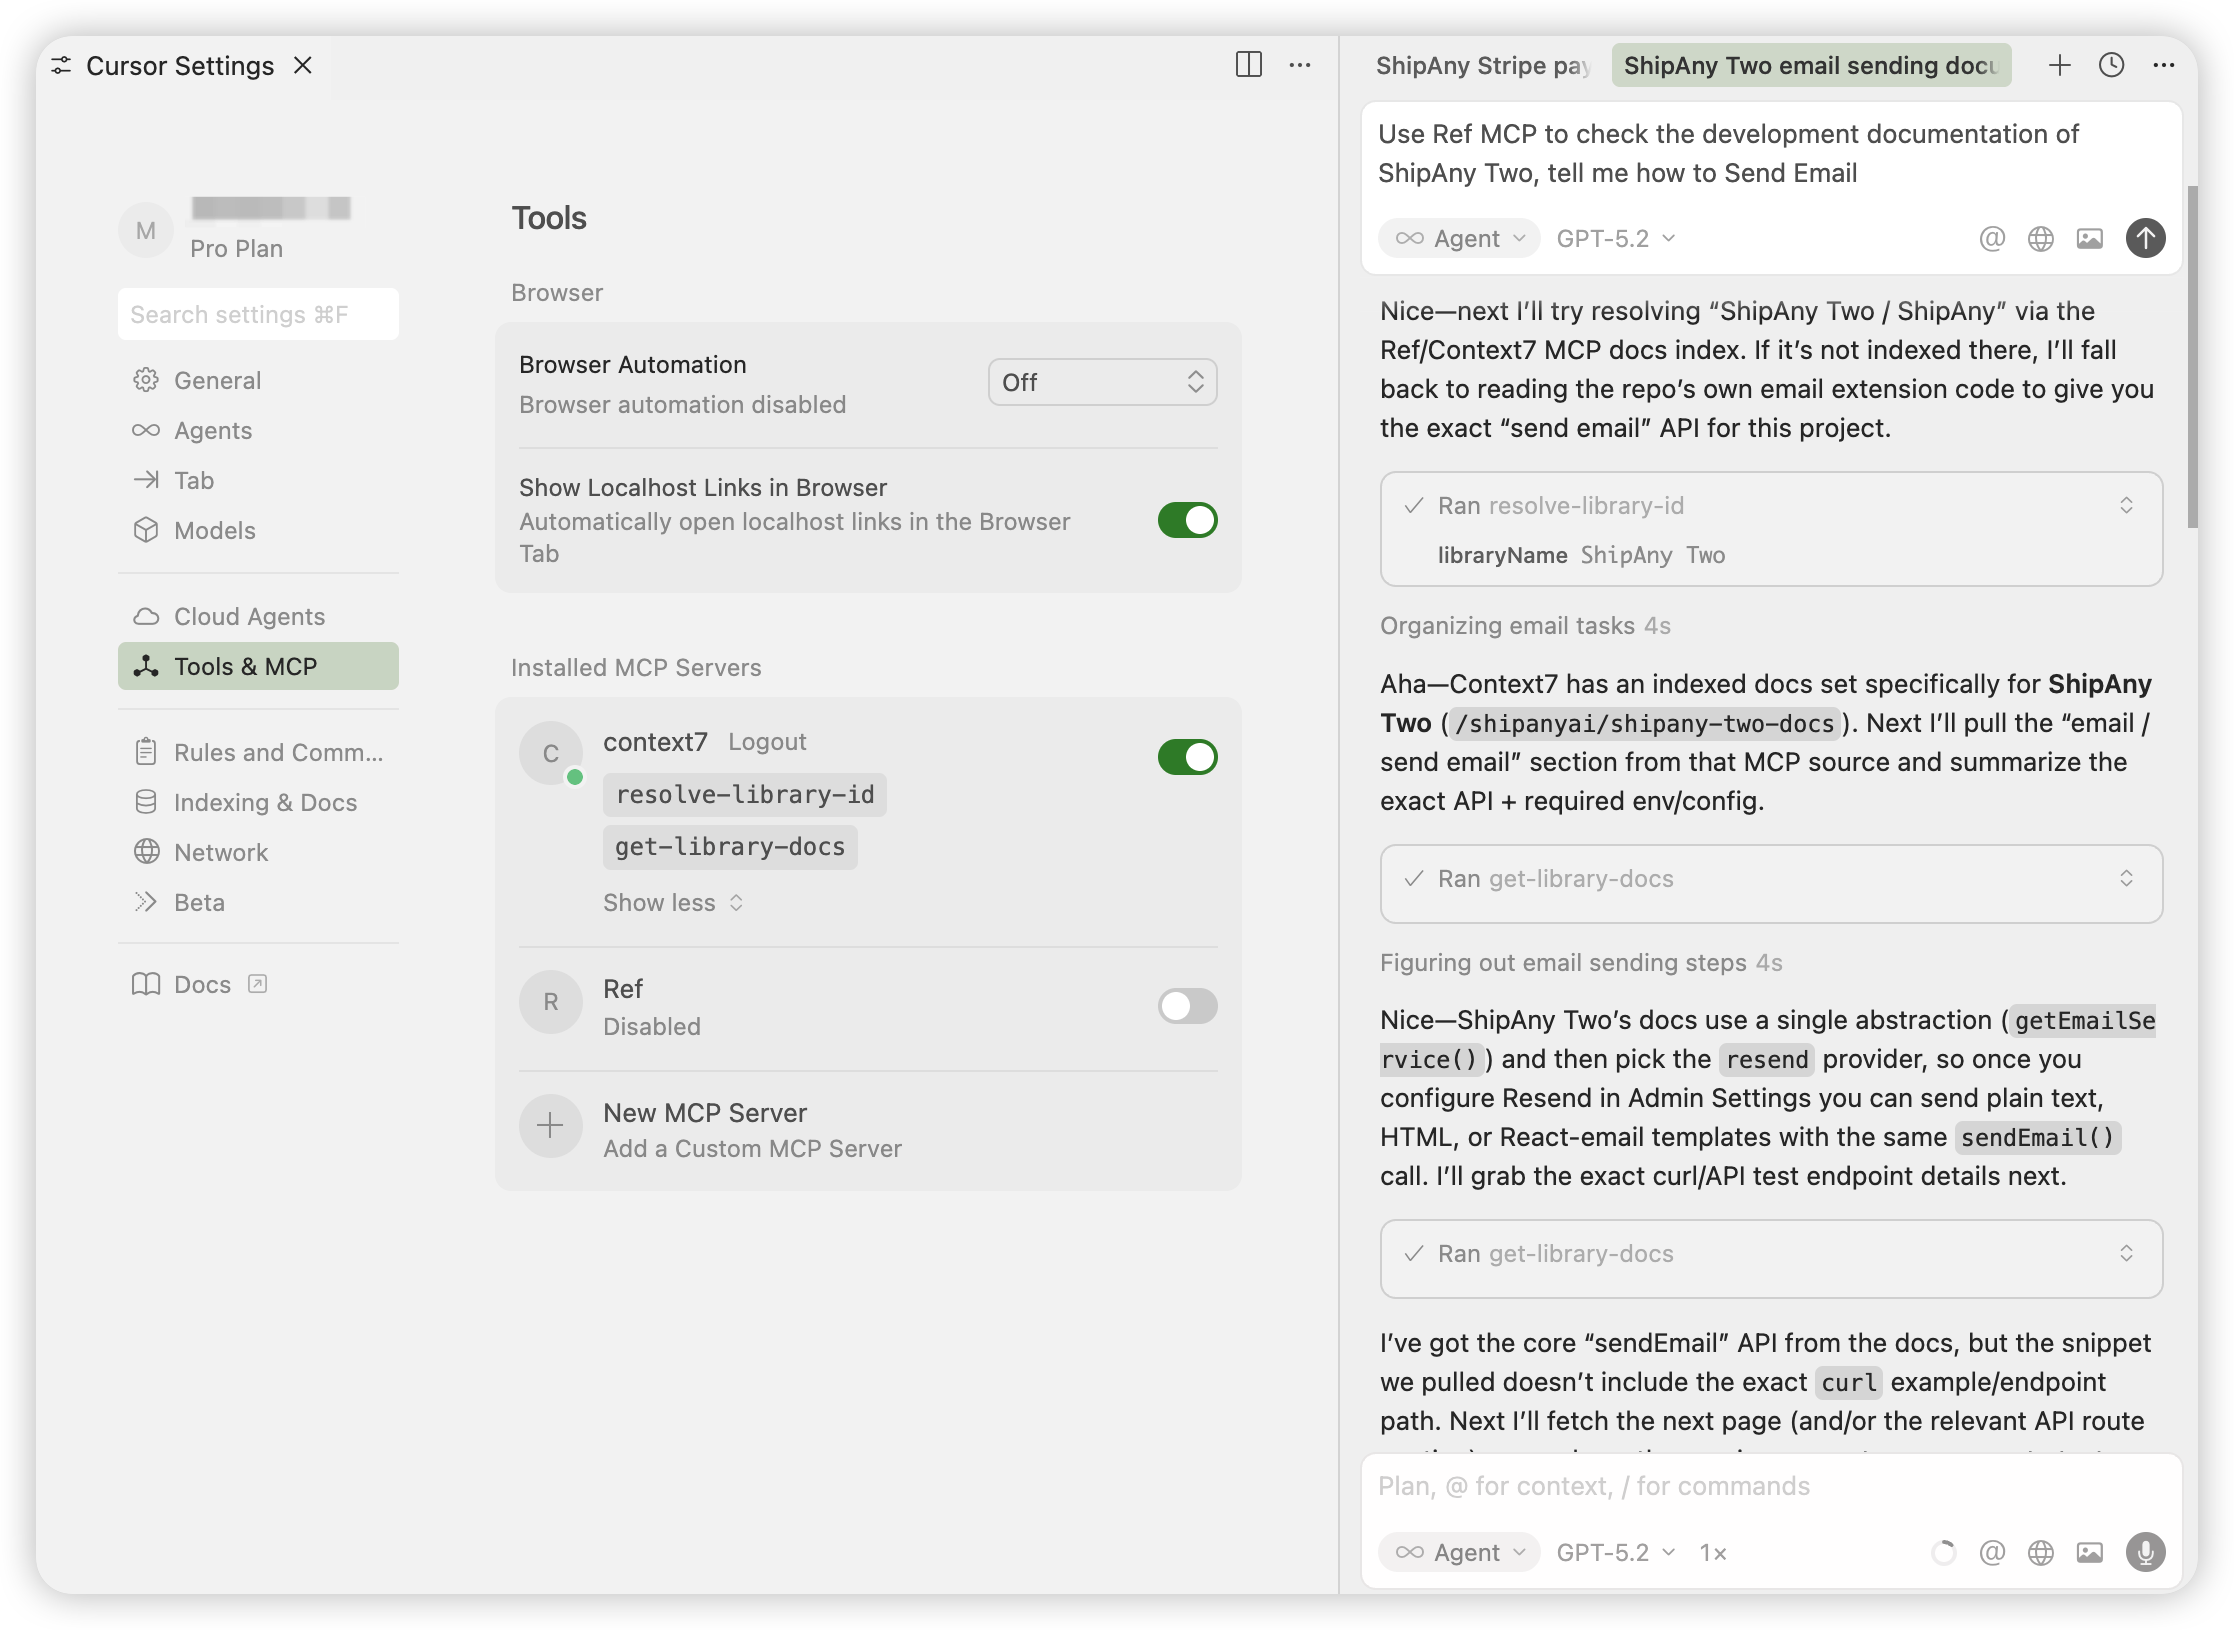
比如在 Cursor 安装 Context7 MCP 后,实际填入的 MCP 服务器配置是:
{
  "mcpServers": {
    "context7": {
      "url": "https://mcp.context7.com/mcp",
      "headers": {
        "CONTEXT7_API_KEY": "ctx7sk-xxxxxx"
      }
    }
  }
}在开发项目时,提示 Coding Agent 使用 Context7 MCP,快速了解相应的知识。
参考提示词:
Use Context7 MCP to check the development documentation of ShipAny Two,
tell me how to Send Email
可以看到,Coding Agent 通过 Context7 MCP 的 resolve-library-id 工具,查询到了相关的文档仓库 ID,
然后多次调用 get-library-docs 工具,读取了相关的文档内容,最终给出了答案。
通过以上两个 MCP 服务器,你可以在开发项目时,随时查询 ShipAny 开发文档,让 Coding Agent 快速了解相应的知识,辅助你完成开发任务。