
部署
部署到 Cloudflare
基于 OpenNext 使用 cloudflare 分支将 ShipAny One 部署到 Cloudflare Workers。
ShipAny 使用 OpenNext 框架,支持一键部署到 Cloudflare。
使用 cloudflare 分支
使用 ShipAny 开发新项目时,如果希望部署到 Cloudflare Workers,建议拉取 cloudflare 分支,无需额外修改,支持一键部署。
git clone -b cloudflare git@github.com:shipanyai/shipany-template-one.git my-shipany-project部署流程
- 在项目根目录创建生产环境配置文件
.env.production
cp .env.example .env.production按需修改 .env.production 文件中的配置:项目域名、数据库、登录授权等配置。
- 在项目根目录创建
wrangler.toml文件
cp wrangler.toml.example wrangler.toml把上一步在 .env.production 文件中配置好的生产环境变量,复制到 wrangler.toml 文件中的 [vars] 下面,并且修改 wrangler.toml 文件中的项目名称 name
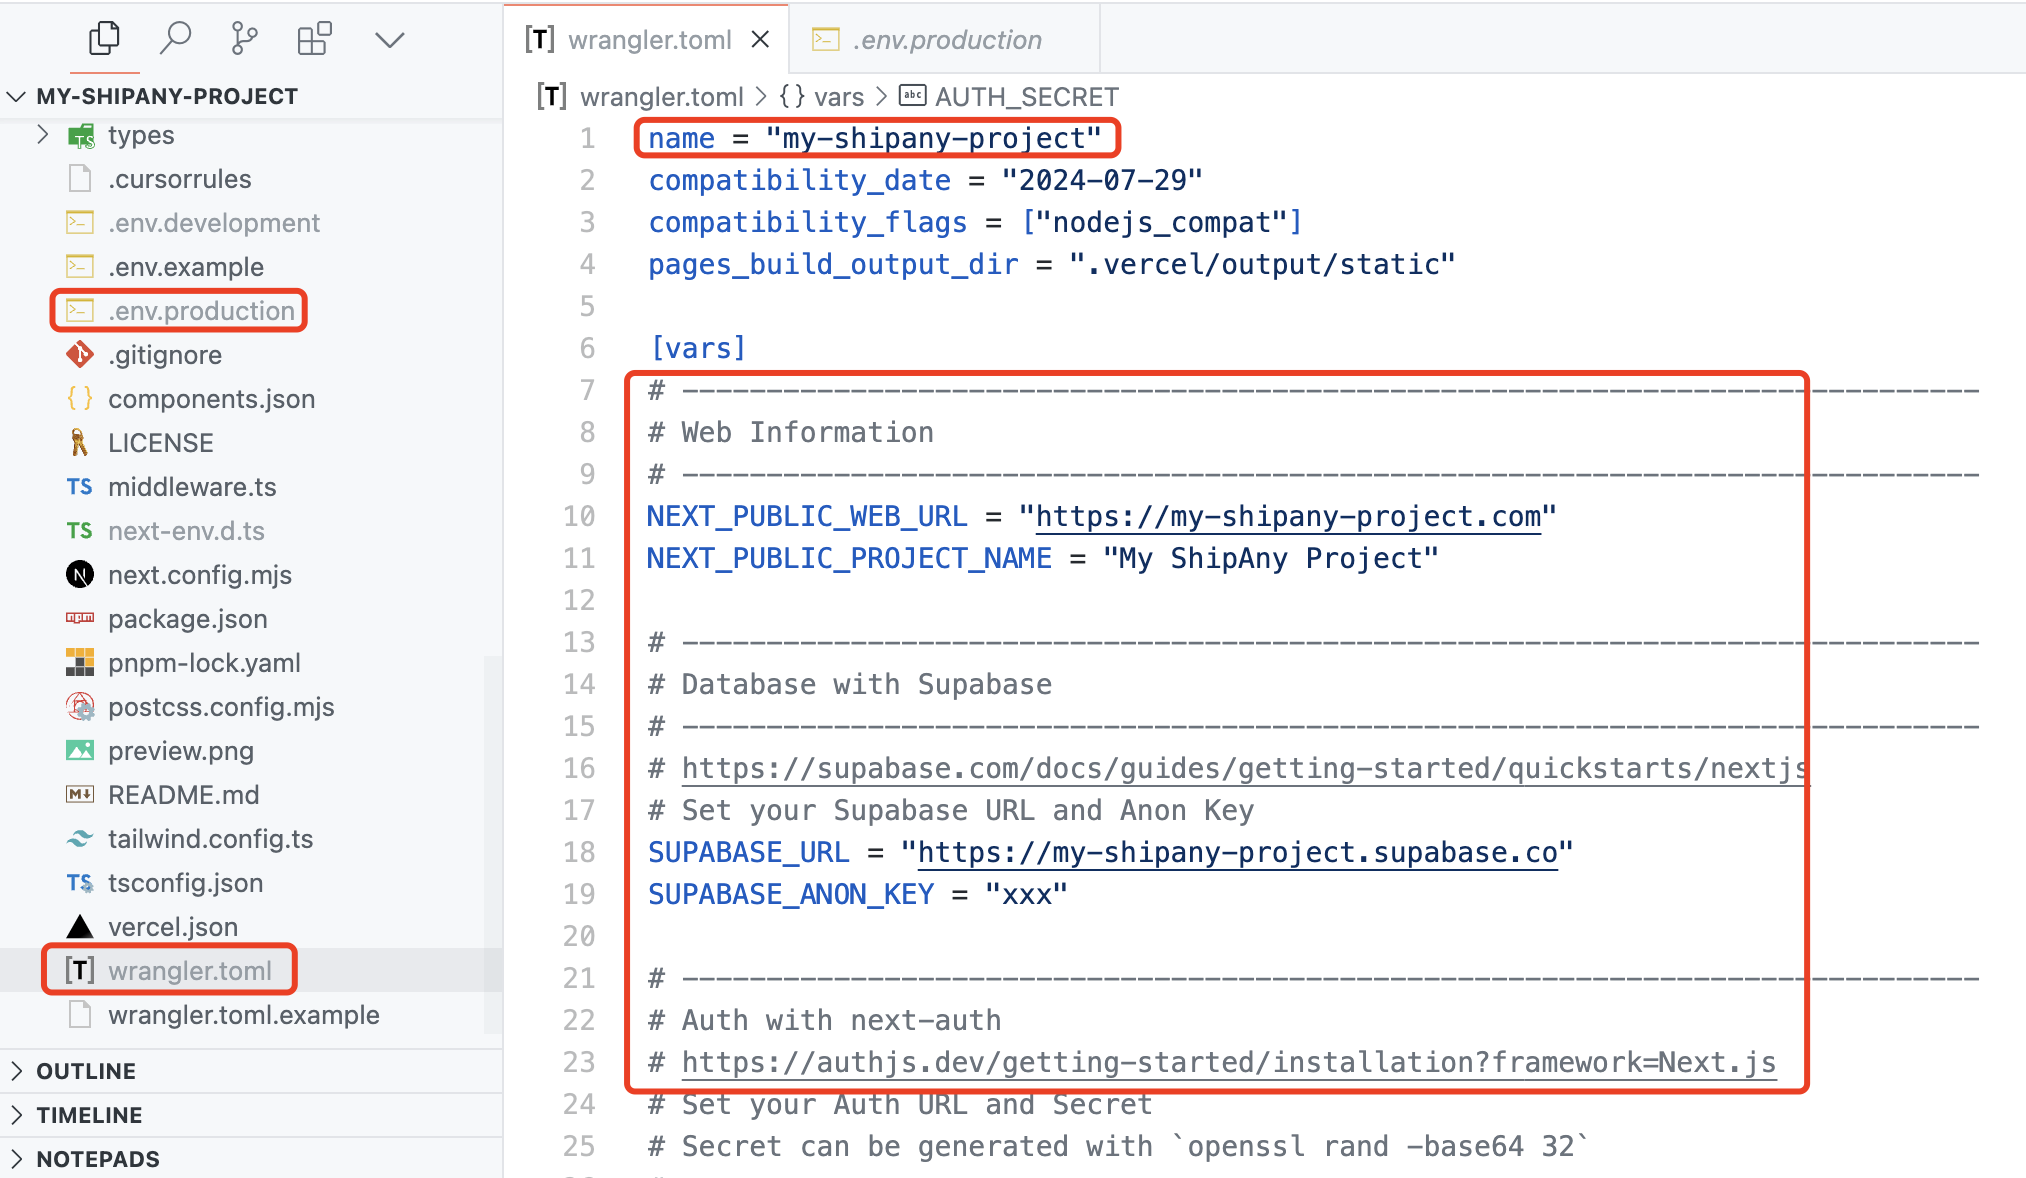
- 部署到 Cloudflare
在项目根目录运行以下命令:
npm run cf:deploy按照提示,输入要部署的项目名称和分支名称(main),连接上你的 Cloudflare 账号,然后等待部署完成。
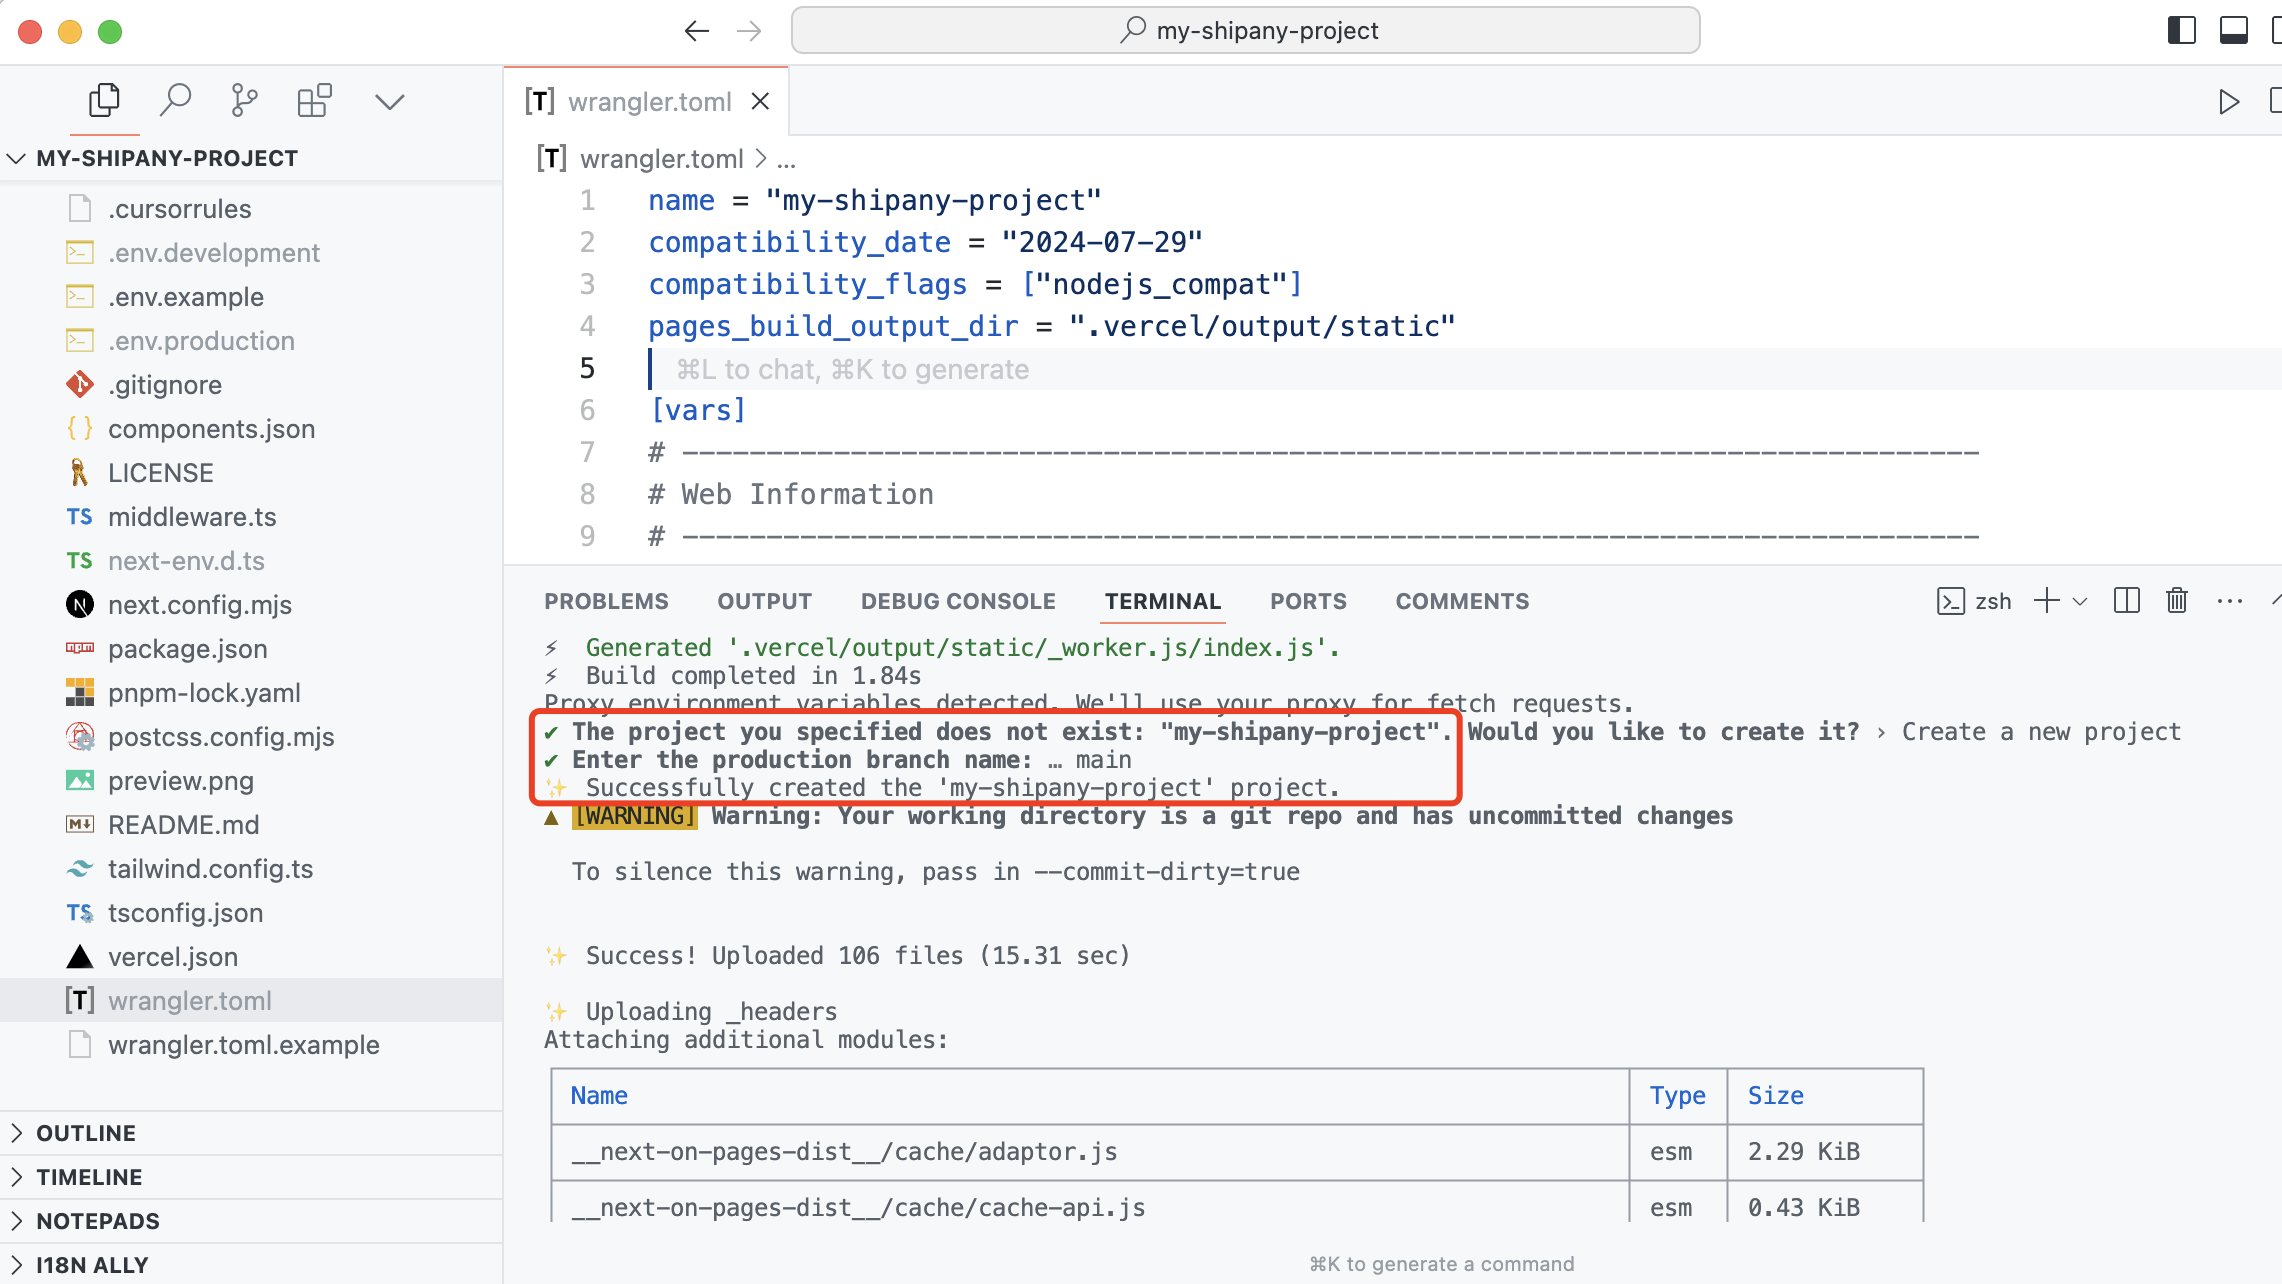
- 进入 Cloudflare 控制台,可以看到项目已经成功部署
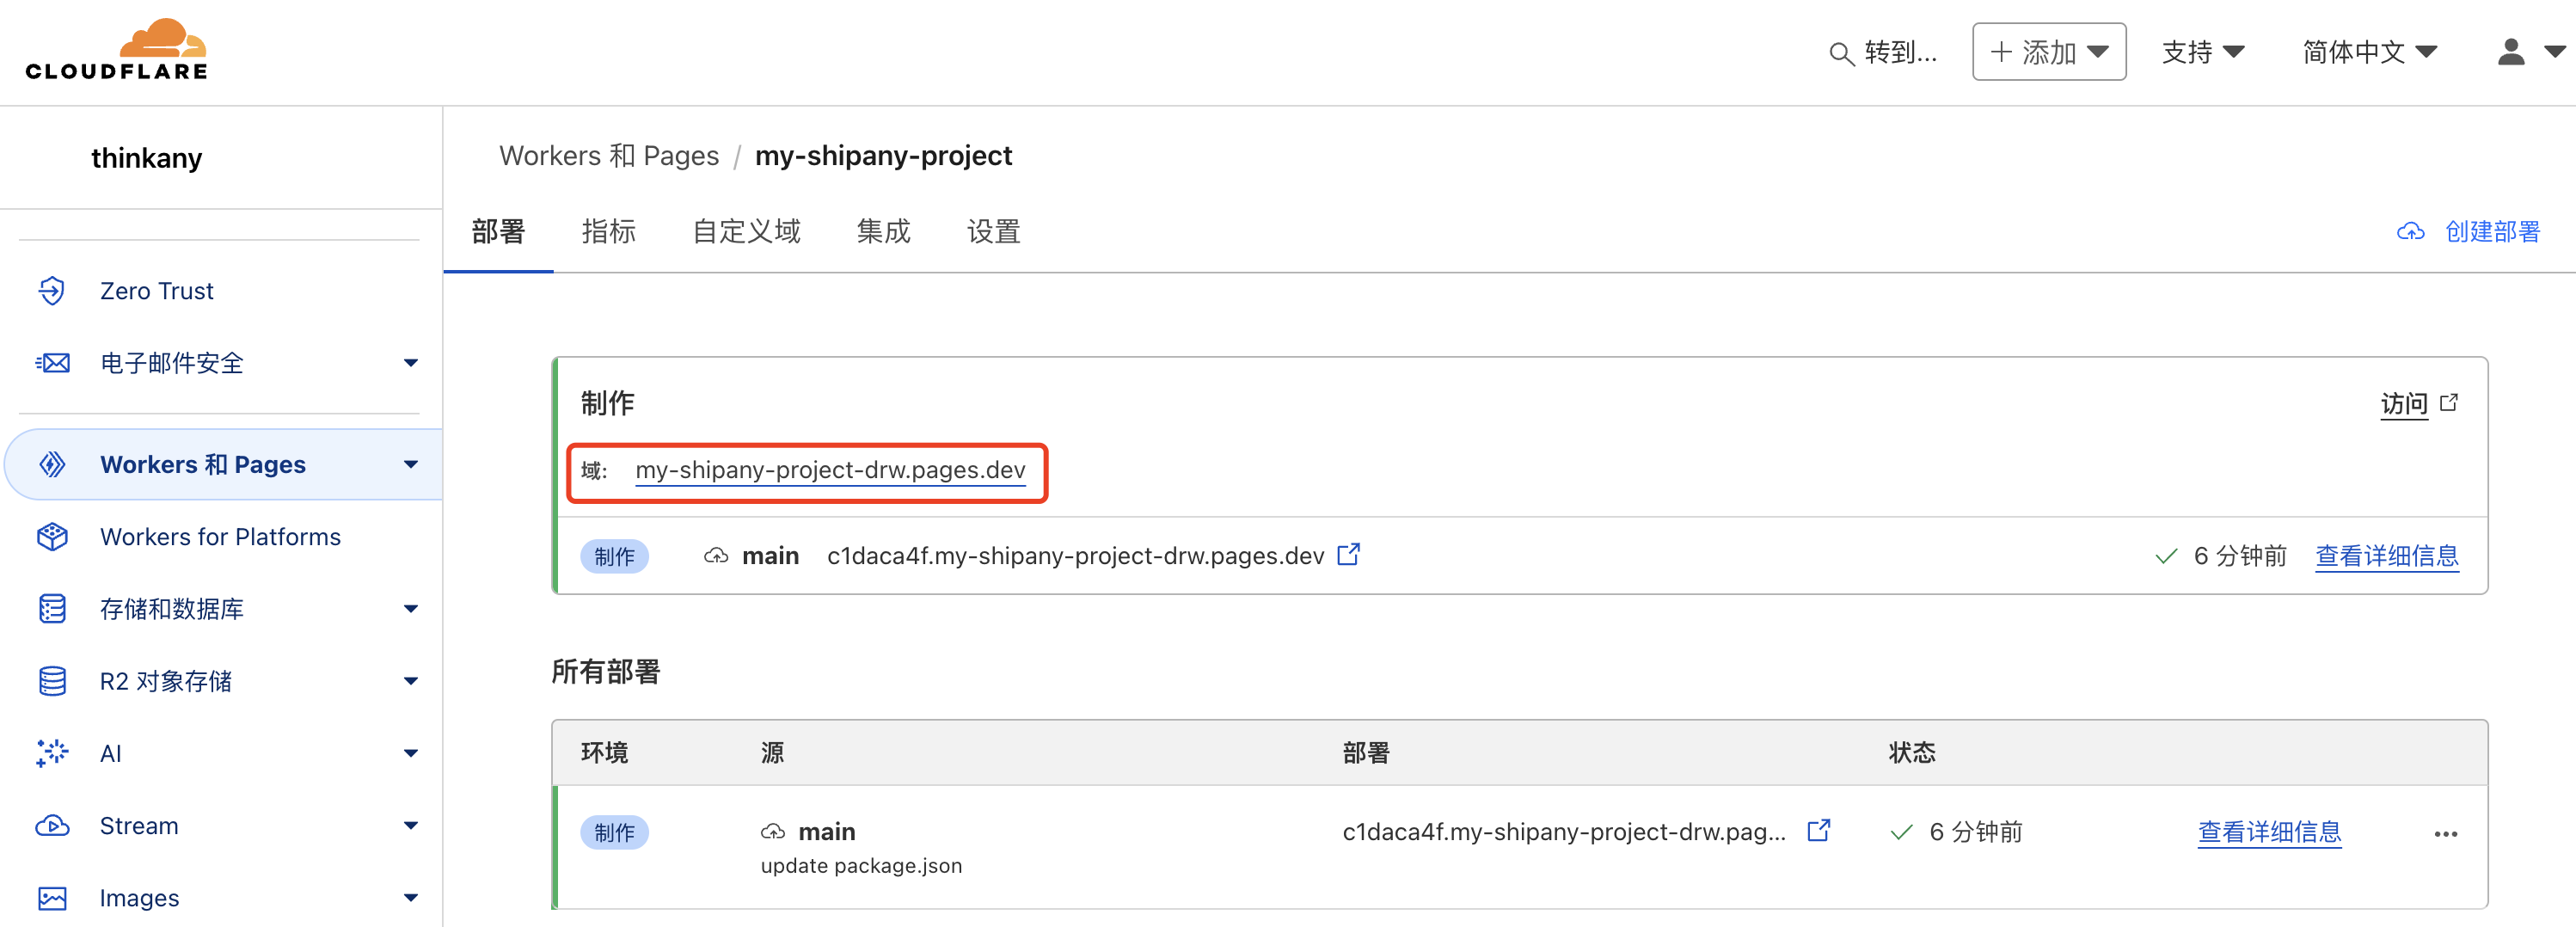
- 访问项目
使用默认生成的域名可访问项目,绑定自定义域名可正式上线。