Turso
Turso is a “small but powerful” edge database. It is 100% compatible with SQLite syntax, and its concurrent read/write performance is significantly better than traditional SQLite—ideal for AI apps, embedded use cases, and serverless scenarios.
ShipAny has Turso integrated. Follow the steps below to get started quickly.
Quick Start
Sign up for a Turso Cloud account. After logging into the console, click Create Database to create a database.
Open the database you created in the previous step, click Create Token, and create a token with:
- Expiration set to
Never Read & Writepermissions
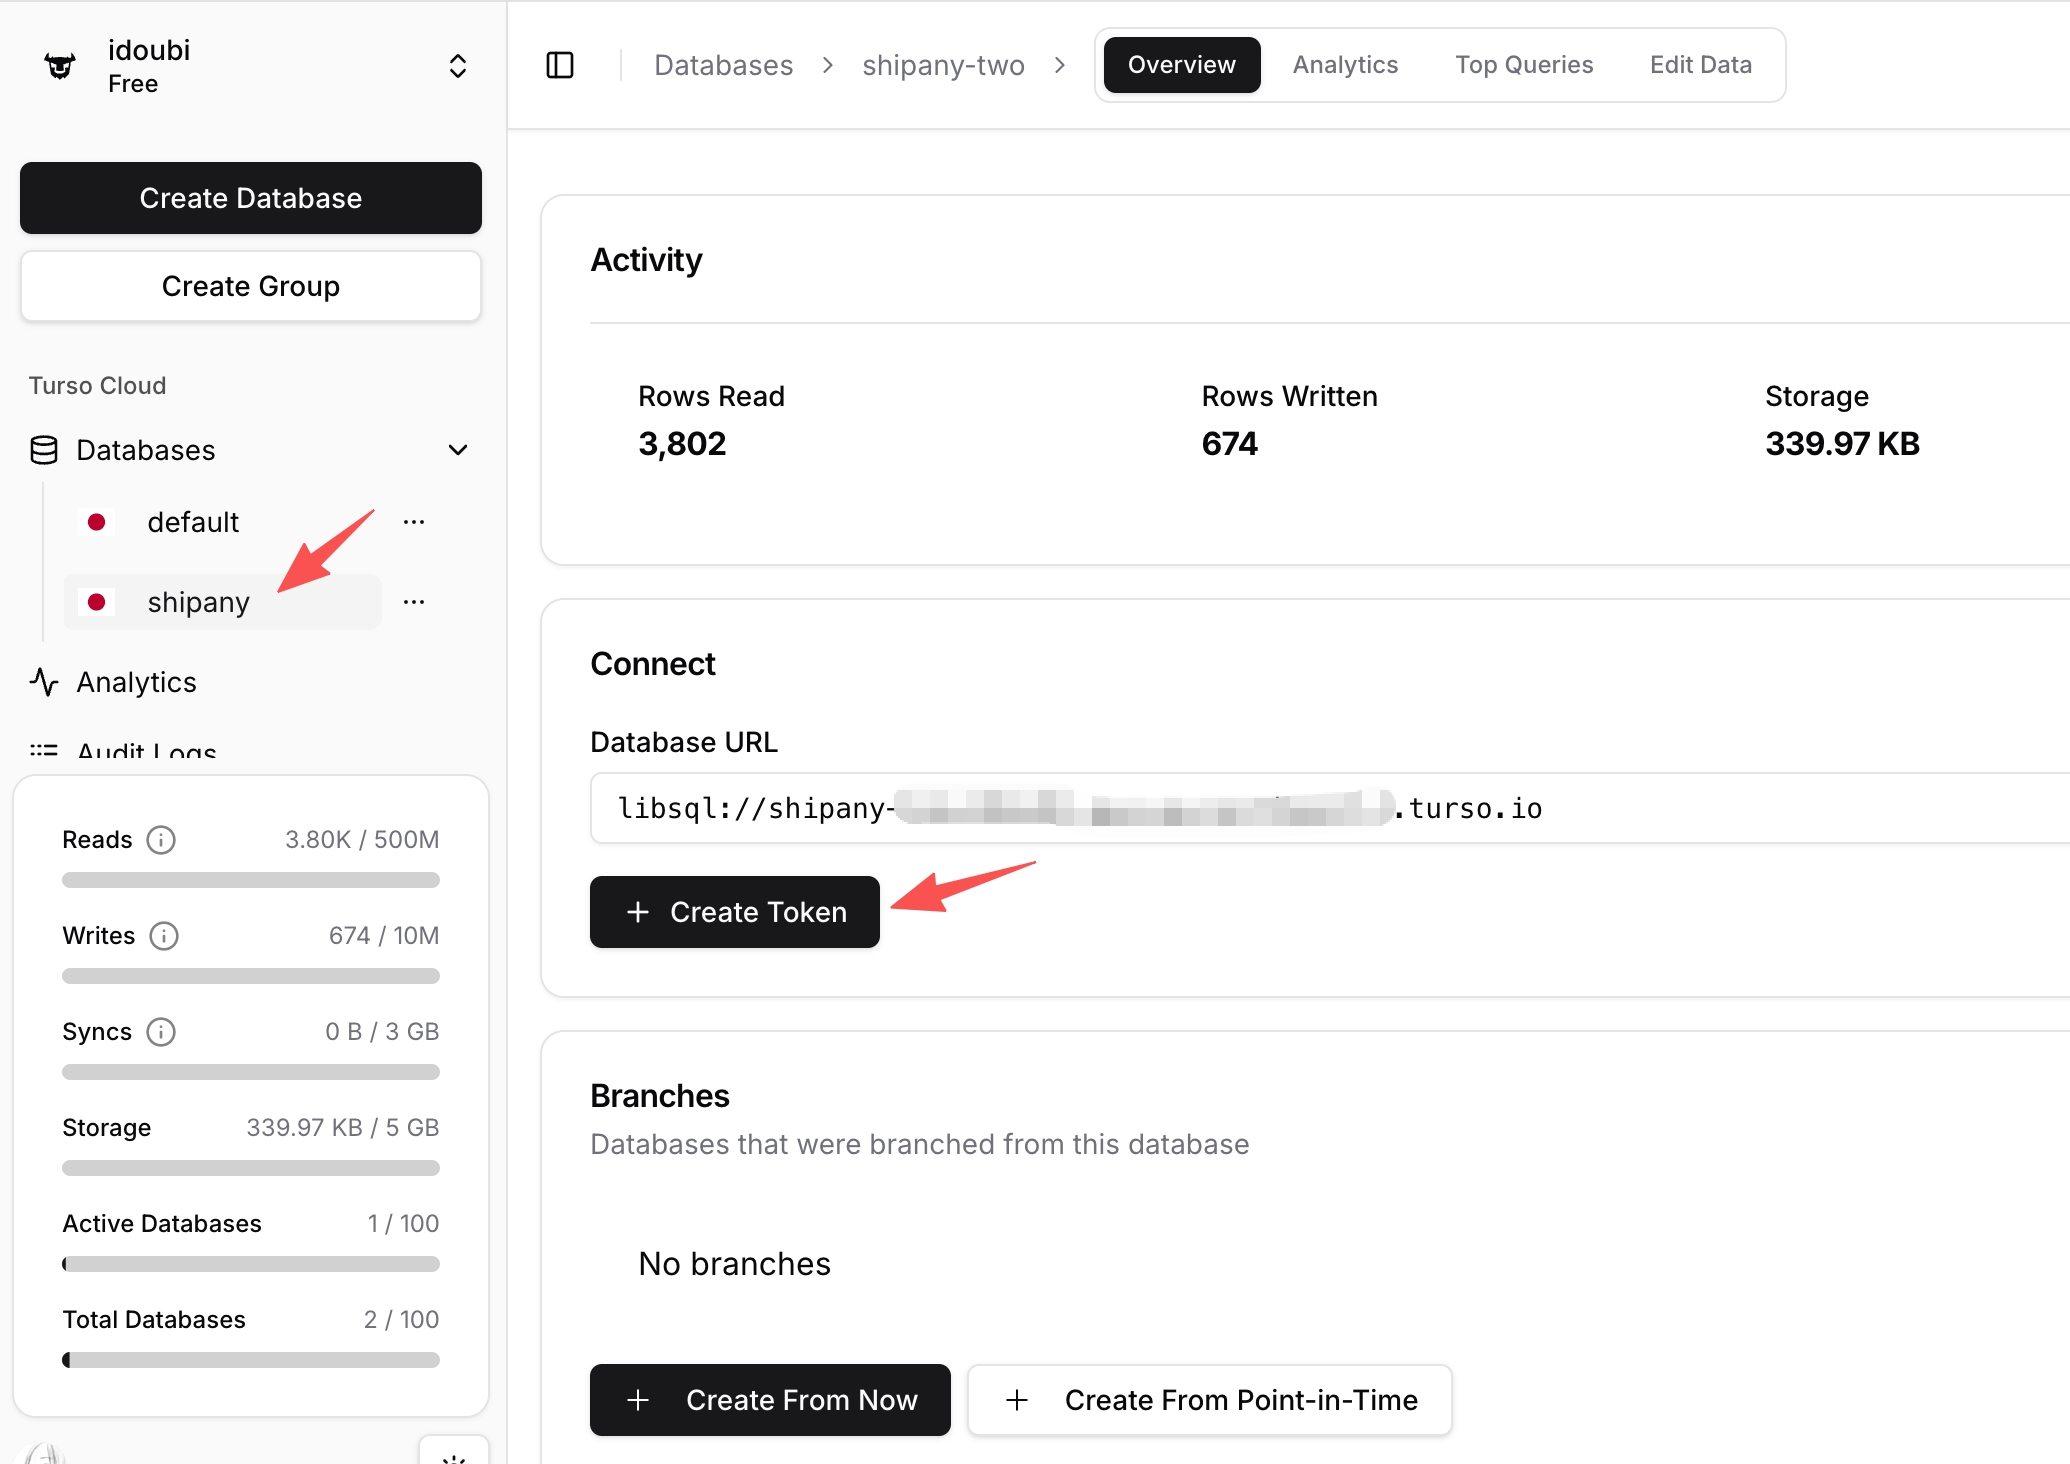
Copy the database Database URL and Token from the previous step.
In your project environment variable files, fill in the Turso database configuration:
- Local development:
.env.development - Production:
.env.production - Cloudflare Workers:
wrangler.toml
DATABASE_PROVIDER = "turso"
DATABASE_URL = "turso-database-url"
DATABASE_AUTH_TOKEN = "turso-auth-token"
DB_SCHEMA_FILE = "./src/config/db/schema.sqlite.ts"
DB_MIGRATIONS_OUT = "./src/config/db/migrations_turso"- DATABASE_PROVIDER: Required. Fixed value
turso - DATABASE_URL: Required. Your Turso
Database URL - DATABASE_AUTH_TOKEN: Required. Your Turso
Token - DB_SCHEMA_FILE: Required. Fixed value
./src/config/db/schema.sqlite.ts - DB_MIGRATIONS_OUT: Optional. Output path for migration files. Default is
./src/config/db/migrations. You can choose different output paths based on database type.
Using Turso database, the data table structure is defined in the ./src/config/db/schema.sqlite.ts file, you need to export the data table from this file.
Open ./src/config/db/schema.ts file, modify the content to:
export * from './schema.sqlite';Run the following commands to migrate your database tables:
pnpm db:generate
pnpm db:migrateYou can manage your database in Turso Cloud, or run the following command locally:
pnpm db:studioThis will open the database admin panel.
Customization
Update tables
If you need to add new tables or modify table columns, edit ./src/config/db/schema.sqlite.ts to update the schema.
After making changes, run the following commands to generate and apply migrations:
pnpm db:generate
pnpm db:migrate
Update database connection
If you need to adjust connection parameters (e.g., custom options, connection pooling, etc.), update the logic in ./src/core/db/sqlite.ts.
By default, data operations use the db() instance exported from ./src/core/db/index.ts. Its return type is any, so in some cases you may not get good type hints.
import { db } from '@/core/db';
import { user } from '@/config/db/schema';

const [result] = await db().select().from(user).limit(1);
If you want a strongly typed database instance, you can use the following approaches when operating on data:
import { dbSqlite } from '@/core/db';
import { user } from '@/config/db/schema';

const [result] = await dbSqlite().select().from(user).limit(1);
Or:
import { getSqliteDb } from '@/core/db/sqlite';
import { user } from '@/config/db/schema';

const [result] = await getSqliteDb().select().from(user).limit(1);
Deploy to Cloudflare Workers
Turso can be used on Cloudflare Workers, but it does not support using Hyperdrive to accelerate database access.
Hyperdrive currently targets TCP-based relational database connection pools/proxies (typically Postgres/MySQL). It is not designed for SQLite/libSQL-style protocols.
So when deploying on Cloudflare Workers, you only need to provide your Turso Cloud configuration—no Hyperdrive configuration is required.
Here is an example snippet from wrangler.toml for Cloudflare Workers deployments:
[[hyperdrive]]
binding = "HYPERDRIVE"
id = ""
localConnectionString = ""

[vars]
DATABASE_PROVIDER = "turso"
DATABASE_URL = "turso-database-url"
DATABASE_AUTH_TOKEN = "turso-auth-token"